Since Windows 10, users can login to their computer using a Microsoft. While this utility might seem odd to some, Login using a Microsoft account actually has a lot of benefits. A Microsoft account allows you to sync all your files, data, information, and preferences across your computers. But for any reason to remove Microsoft account from Windows 10 then follow this tutorial.
To remove Microsoft Account from Windows 10 Click on the Start button or press the Windows key button, type “netplwiz” and hit Enter, then in the list, select the account you want to remove and click on “Remove”.
What is a Microsoft account?
A Microsoft account is a free email account that you can you use to access most of Microsoft services and devices. With the same email address, you can login to your computer, access Hotmail, Skype, OneDrive, Xbox consoles, and Windows Smartphone. With this strategy, Microsoft unifies its different services and devices into a single Microsoft account. In other words, this allows you to access anything connected to the Microsoft ecosystem with the same account.
A Microsoft account allows you to sync all your data and information between all your devices and Microsoft services. For example, this allows you to access your Onedrive files from your computer and smartphone, have the same background and contact email on your different computers, etc.
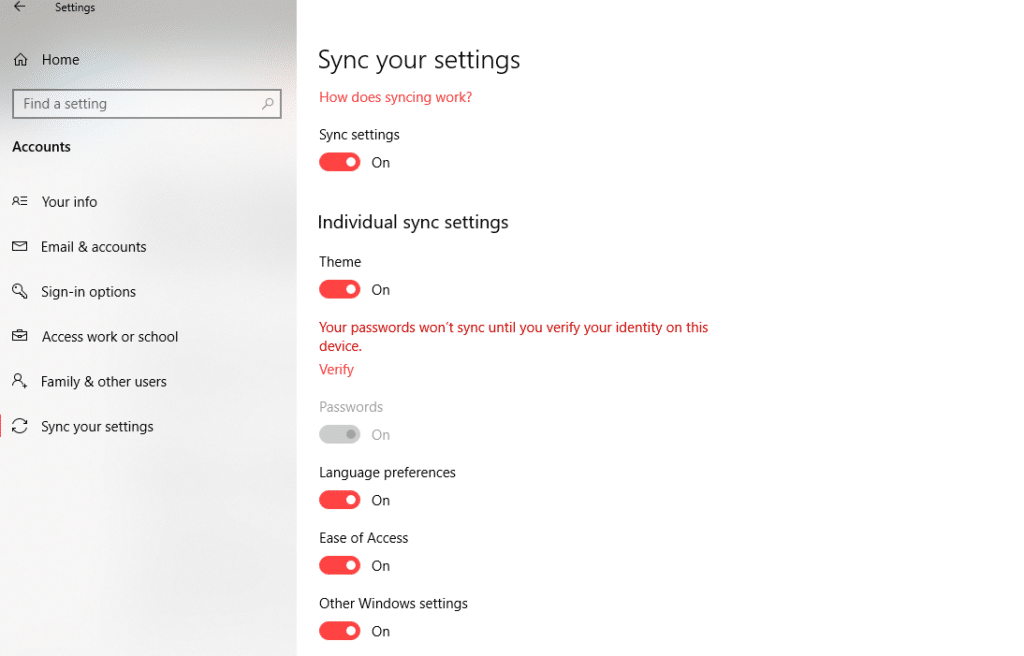
Its pretty useful to have your language preferences and background automatically set when you install Windows 10 on a new PC.
Windows 10 local account vs Microsoft account
The main difference between a Windows 10 local account from a Microsoft account is that you login to your computer using an Email address instead of a username. The email address doesn’t have to necessarily be a Microsoft account. Actually, you can use Gmail, Yahoo, or any other email for creating a Microsoft account.
Also, using a Microsoft account instead of a local account allows you to synchronize your files between your computer, something you cannot do with a local account as you have to manually backup and save your files and transfer them. If you are using a local account and your hard drive stops working, all your data and preferences will be lost.
Having a Microsoft account assures you of having the “same thing” on all your computers as long as you activated the synchronization. You can see a local account as an “offline” account while a Microsoft account is the “online” account. If something breaks on your local account, no one is aware of it and you have no other option than to fix it on the “local machine” where the local account is configured.
Finally, a Microsoft adds another security level to your devices with its two-step verification system. When activated, a verification of your identity will be required using a security code to login each time you try to login to an untrusted device.
Do I Really Need A Microsoft Account?
No. A Microsoft account is required when you first-time install Windows 10 for initial configuration. But after Windows 10 first start, you can remove the Microsoft account and use a local account instead.
You might have already a Microsoft account if you have a Hotmail or Outlook account, but a local account will suffice to use your computer as long as you don’t need sync functionalities.
If you want to remove Microsoft account from Windows 10, you first NEED to have a local account before removing the Microsoft account. (Otherwise, you will lose access to your computer)
So, Before proceeding to remove the Microsoft account from Windows 10, make sure to create a local account before using the tutorial in the next section.
How To Remove Microsoft Account From Windows 10
Now that we have seen the differences between a local Windows account and a Microsoft account. If you still want to remove Microsoft account from Windows 10 then follow these steps.
Follow the steps below to remove Microsoft account from Windows 10
- Click on the Start button or press the Windows key button.
- Type “netplwiz” and hit Enter

- In the list of users, select the user you want to delete

- Click on Remove
- Restart your computer.

Once you have restarted you computer, Windows 10 will prompt you to login with a local account. Enter the username and password of a local account and login to your computer.
Note: You need to already have a local account which is administrator before your remove Microsoft account from Windows 10.
How To Add a Local User Account In Windows 10
If you dont have a local user account yet, then follow the steps bellow to create one.
1. Click on the Start button or press the Windows key button.
Click on the Start button on the bottom left of your desktop or hit the Windows key on your keyboard.
2. Type “netplwiz” and hit Enter
Access user accounts manager.

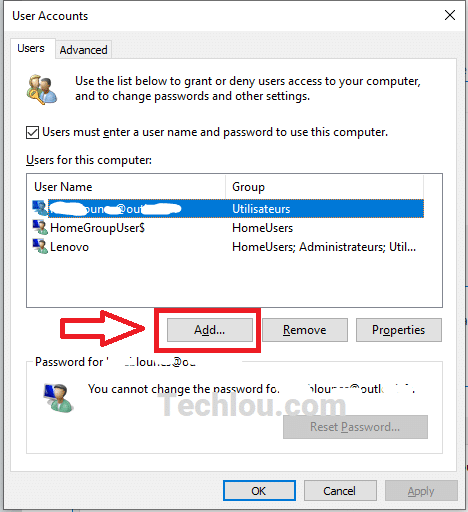
3. Click on “Add”
Click on “Add” to add a new user account.
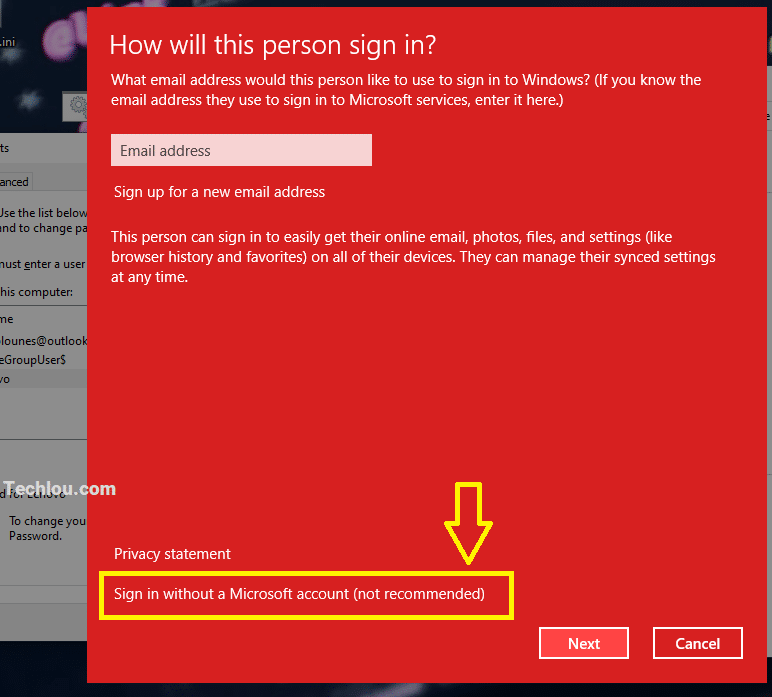
4. Click on “Sign in without a Microsoft account”
On the next window click on “Sign in without a Microsoft account”
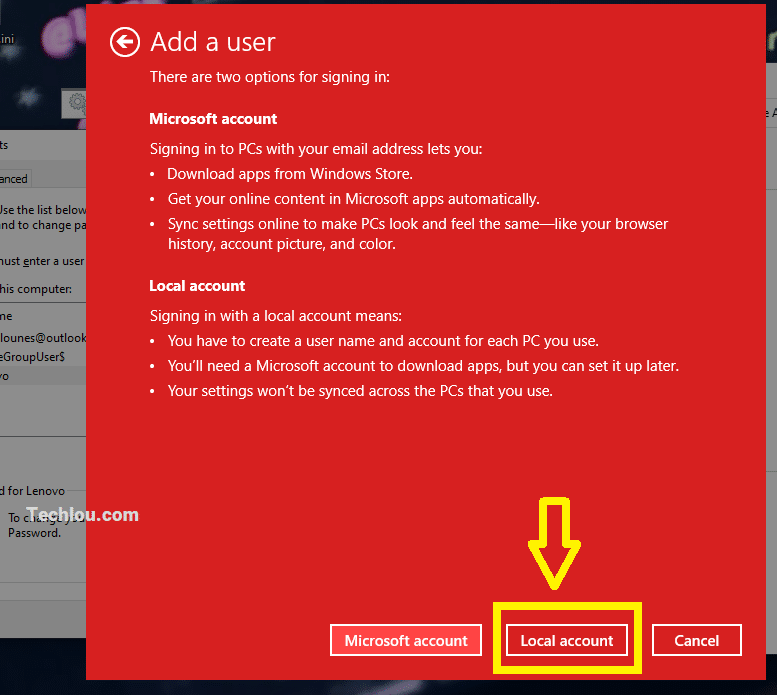
5. Select “Local account”
Click on “Local account” to choose to create a local account.
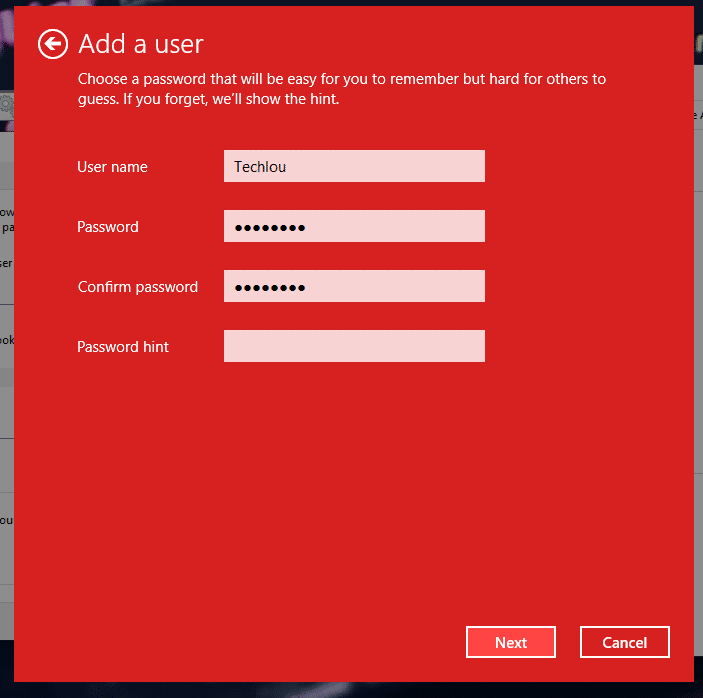
6. Choose Username and Password
Enter a username, a password and a password hint then click on Next
7. Click on Finish
Click on finish to create the Local user account.
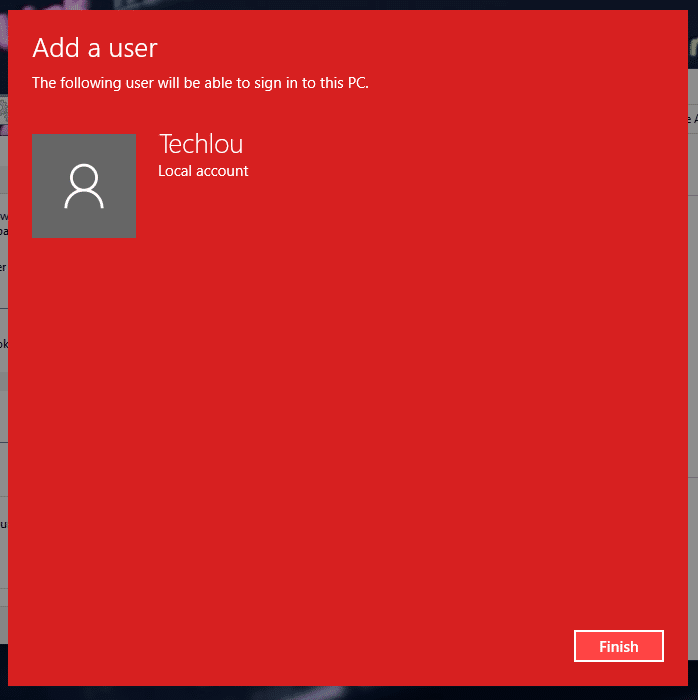
After you click on Finish, your local user account should be created. The created local account is NOT an administrator, you need to make this user account Administrator in order to have a full control on your computer.
In the next section we will see how to change user account into an administrator account.
How To Make An User Administrator on Windows 10
Follow the steps below to change a user account into Administrator on Windows 10
1. Click on the Start button or press the Windows key button.
Click on the Start button on the bottom left of your desktop or hit the Windows key on your keyboard.
2. Type “netplwiz” and hit Enter
Open user accounts manager.
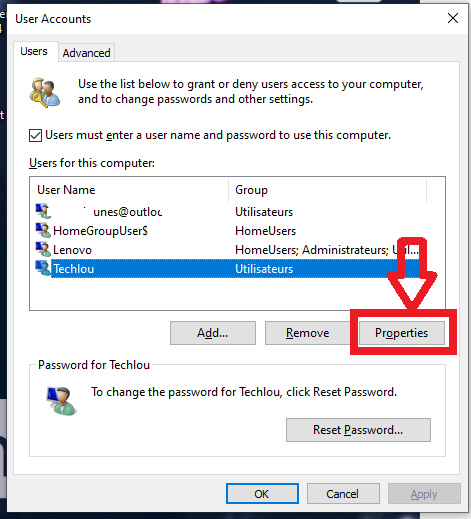
3. Select an account and click on “Properties”
In the list of accounts, select an account you want to make Administrator.
4. Click on “Group Membership”
Click on the Group Membership tab


5. Select “Administrator” and click on OK
In “Grop Membership” tab, change the type of account to Administrator

After clicking on OK, the user account will be added to the “administrators group”, giving it full privileges and control over your PC. Click on Ok again to validate.

After you have created an administrator local account, you can safely proceed to remove Microsoft account from Windows 10 as you will still have full control over your computer with the local account.
In this tutorial, we what’s the main differences between a local account and a Microsoft account and how to remove a Microsoft account from Windows 10. If you liked this tutorial or have any question please leave below.
See also How To Remove “Activate Windows” Watermark From Windows 10 Desktop